Bearded Irises
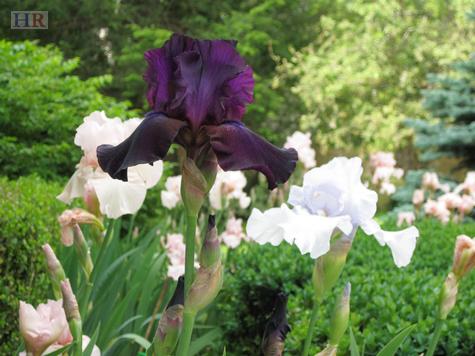
Bearded irises are relatively easy garden plants to grow, and will give good results with a minimum of care. My collection of irises came about through the generosity of a fellow gardener – an elderly gentleman from the Historical Society. We met at a Society function during my first spring in town, and found that we shared a common hobby. On a sultry, hot day in mid-summer, he dropped by with several trash bags filled with iris rhizomes. His mother had been an Iris Society member and avid collector, so the irises that he inherited and then shared with me were heirloom plants and unusual varieties. Twenty years later, their dazzling pale pink, frosty blue and midnight purple blooms light up my garden in late spring.
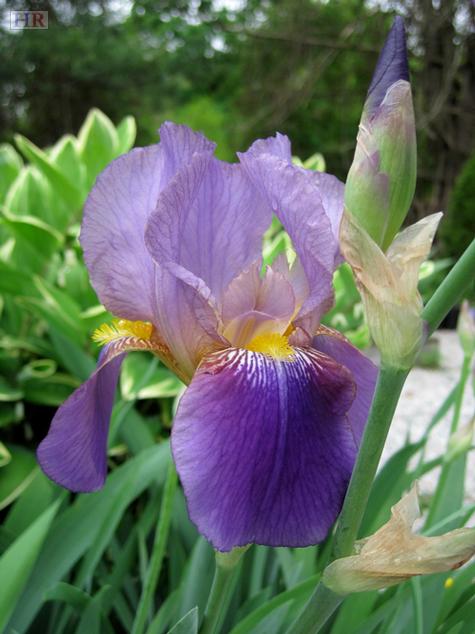
Here in Massachusetts, July and August are the best months of the year to plant new iris rhizomes and divide overcrowded clumps. The irises have finished flowering, and are usually dormant during the heat of the peak summer months. Iris rhizomes that are planted now have plenty of time to have their roots well established before the end of the growing season.
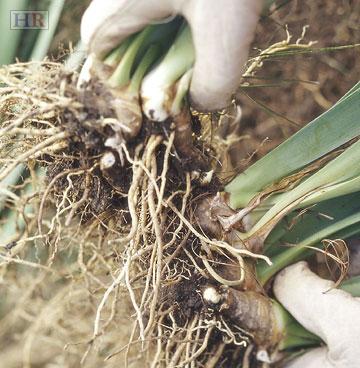
Bearded iris should be divided when they become overcrowded, usually after three to five years. At this point, their bloom will decline. Dividing them is not difficult, since the plants have fairly shallow root systems. I follow these steps:
-
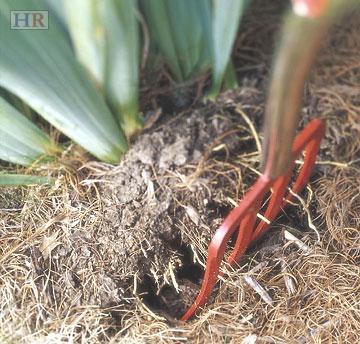
To divide a mature clump, carefully lift the entire plant out of the ground. I like to use a spading fork for this job, as it does not cut the roots.
-
Next, rinse the soil off the rhizomes so that you can see any diseased areas.
-
Separate old, exhausted, unproductive rhizomes from new, young growth.
-
Cut off any portions that are brown inside and discard.
-
Slice the healthy portions into chunks about 3” in length. Make sure each piece has its own roots and leaves.
-
Prepare a planting site in full sun where the soil has excellent drainage – raised beds and slopes are ideal for this. Amend the soil with compost.
-
Space the plants 12-24 inches apart. Clumps of three plants set in a triangle with the rhizomes facing into the center makes an attractive grouping.
-
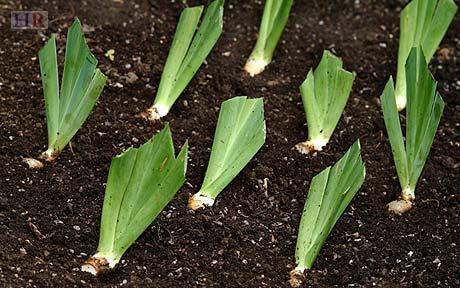
Lay each rhizome horizontally in its own shallow hollow. It needs to be half-buried so that the back of each rhizome is visible (like a floating whale). Tamp the roots firmly into the ground to anchor the rhizome.
-
Trim the leaves to about 6”. This will reduce transpiration while the plant is becoming established.
-
Keep well watered. Newly planted rhizomes need moisture for their root systems to develop. Once established, irises should be watered when the top three inches of soil dry out. Over-watering irises is a common mistake once and will lead to rot.
-
Fertilize with superphosphate or a well-balanced fertilizer with an N-P-K ration of 10-10-10. Avoid fertilizers high in nitrogen as they encourage soft growth that is susceptible to disease.
Bearded iris are a great addition to the garden with their beautiful flowers in spring, and their bold, vertical foliage throughout the growing season. Dividing your plants regularly will keep them vigorous and healthy and provide you with years of enjoyment.
(Jana Milbocker is co-owner of Enchanted Gardens, a landscape design firm in Holliston, www.enchantedgardensdesign.com, and a past president of the Holliston Garden Club.)